
Team & settings
Manage roles and review settings
Review built-in roles, create a custom role with only the permissions needed, and check business and processing settings.
Before you begin
- Who can use this
- Users permitted to manage roles or view Settings
- You'll need
- A documented job need for any custom role
- The correct merchant and store context
- Access to Need Help in Quickvee Pay when registered business information must change
Review and create roles
- 1
Open Manage Roles
From Employees Management, choose Manage Roles and review the built-in Cashier, Manager, and Admin roles.
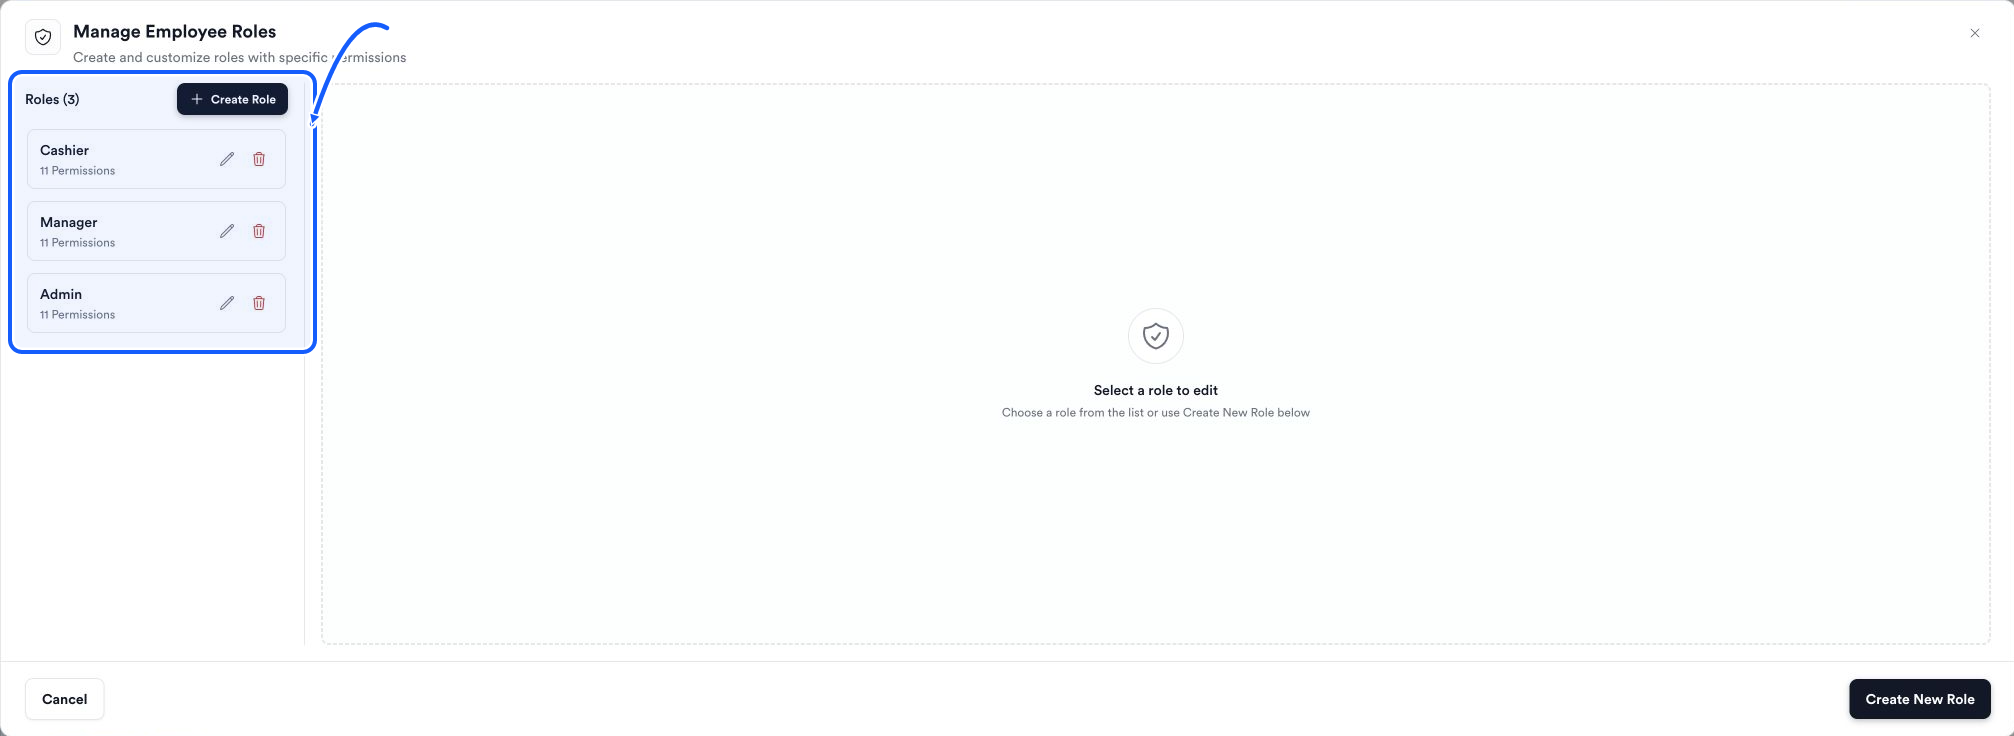
The highlighted area shows where to click. - 2
Start a custom role
Choose Create New Role, enter a role name, and use the permission search when needed.
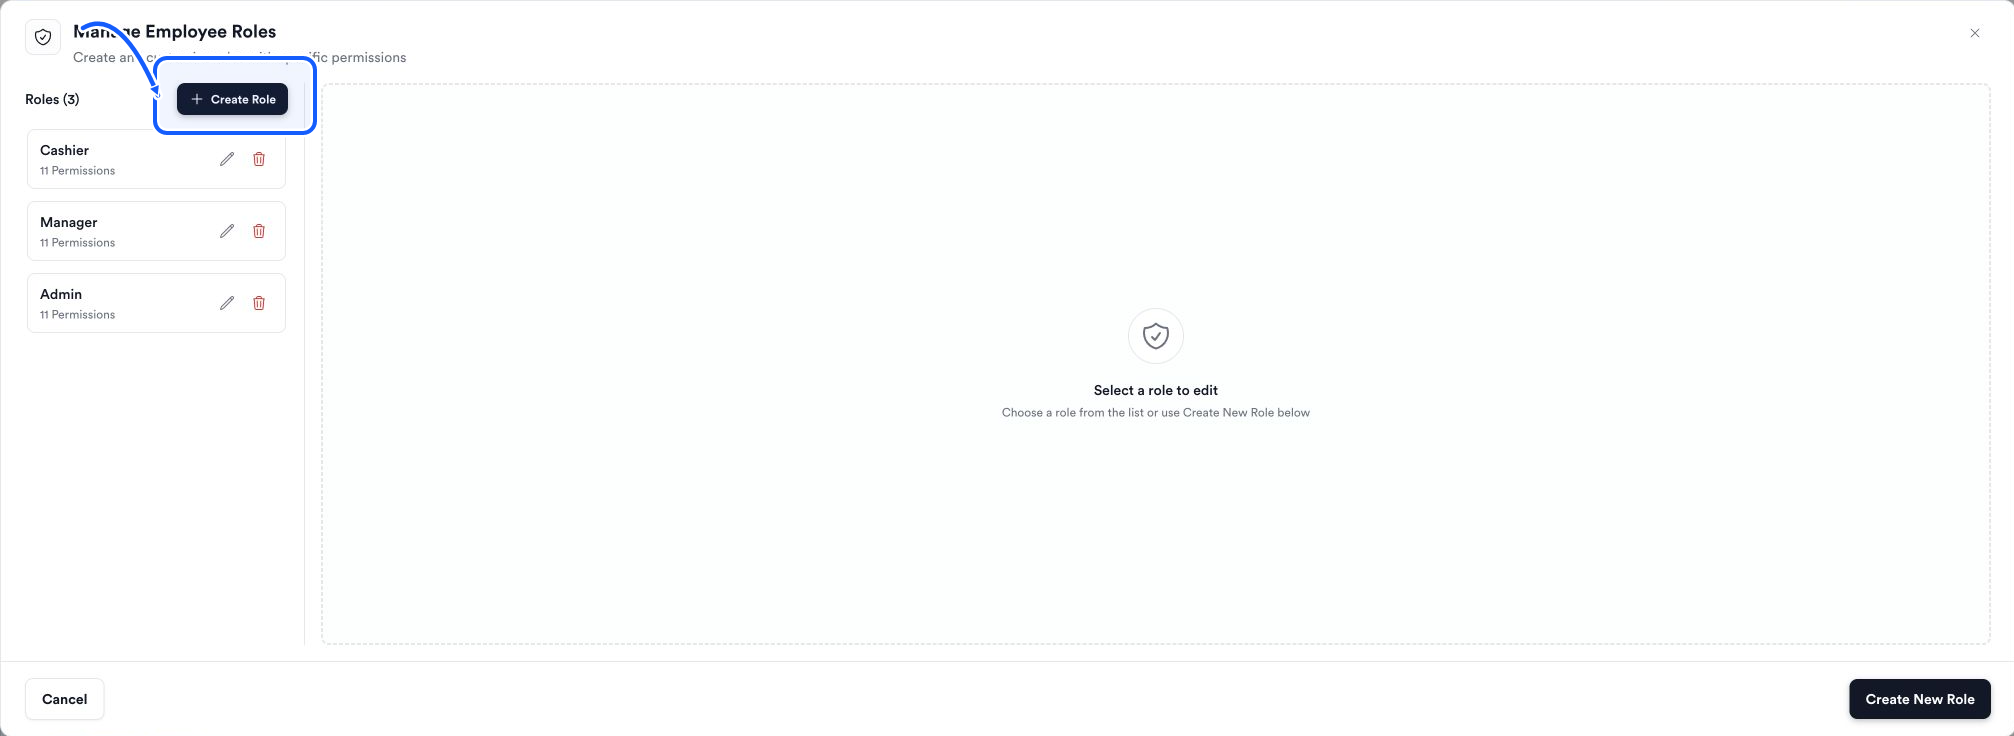
The highlighted area shows where to click. - 3
Select only required permissions
Choose only the Quickvee Pay permissions needed for the job.
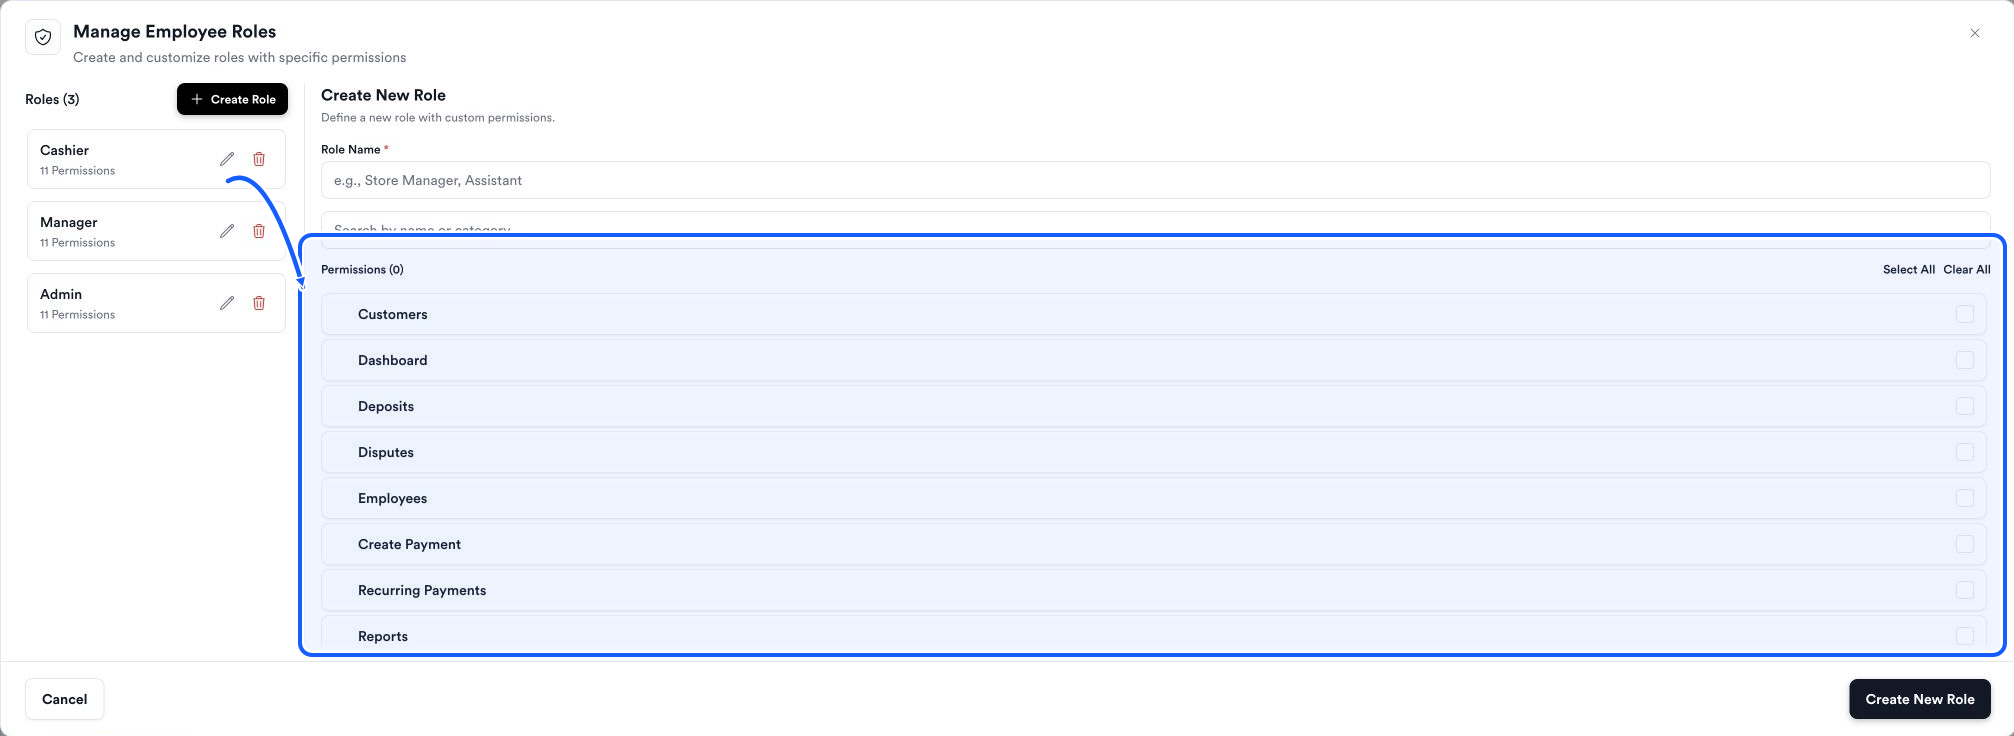
The highlighted area shows where to click. - 4
Review and create
Confirm the role name and selected permissions, then create the custom role.
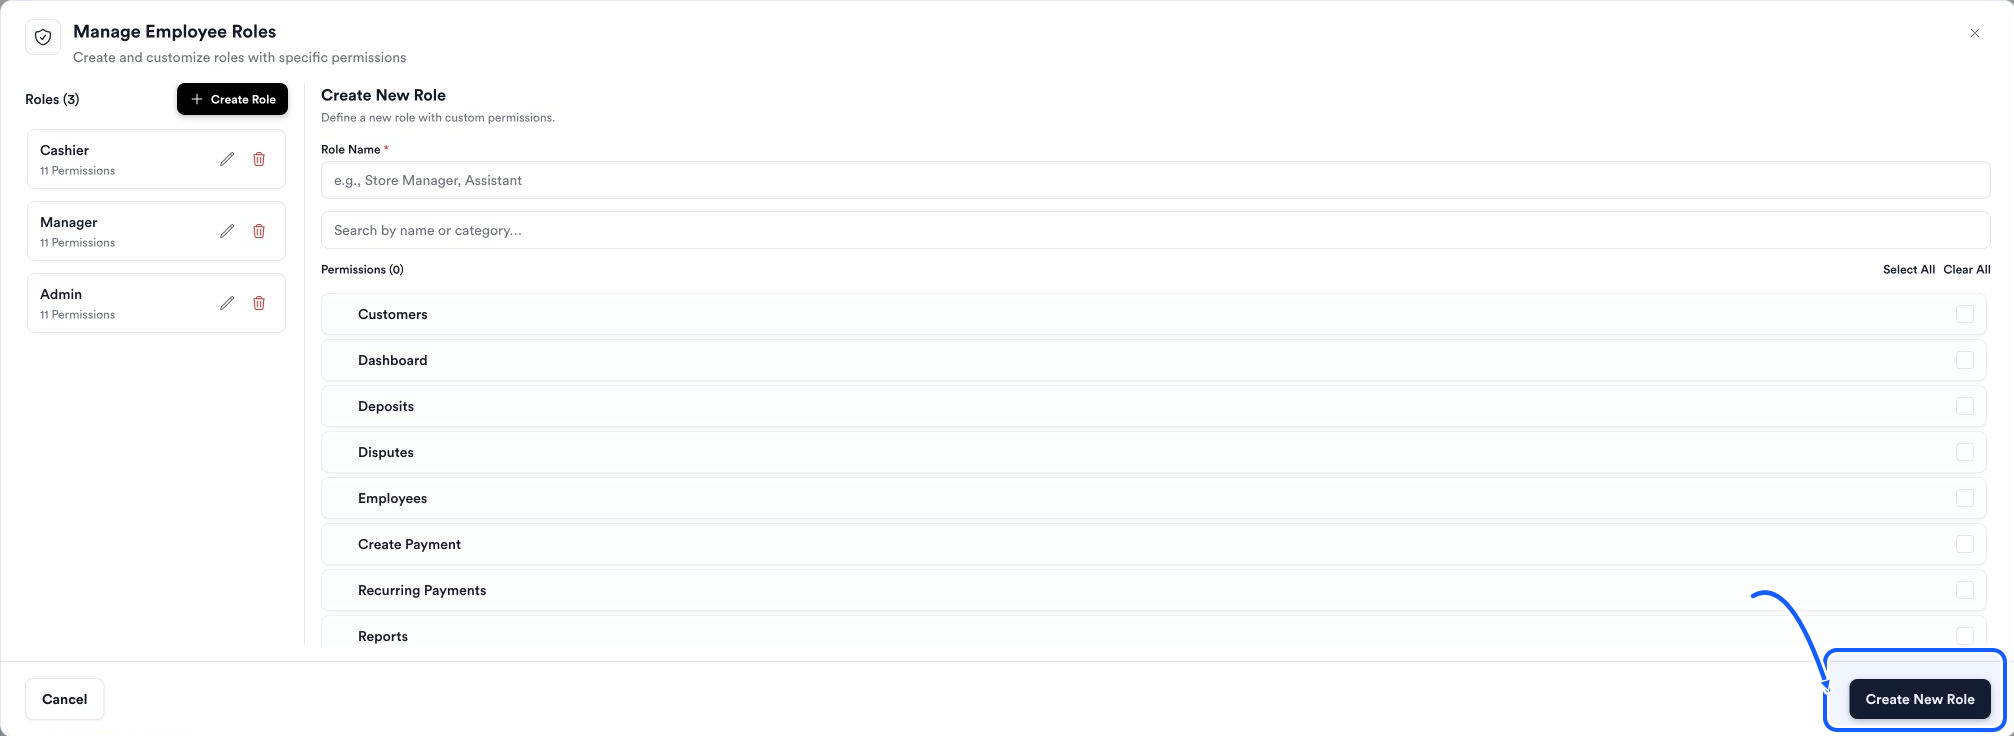
The highlighted area shows where to click.
Review merchant settings
- 1
Open Business settings
Open Settings and review the Business tab for Business Information, Contact Information, and Business Address.
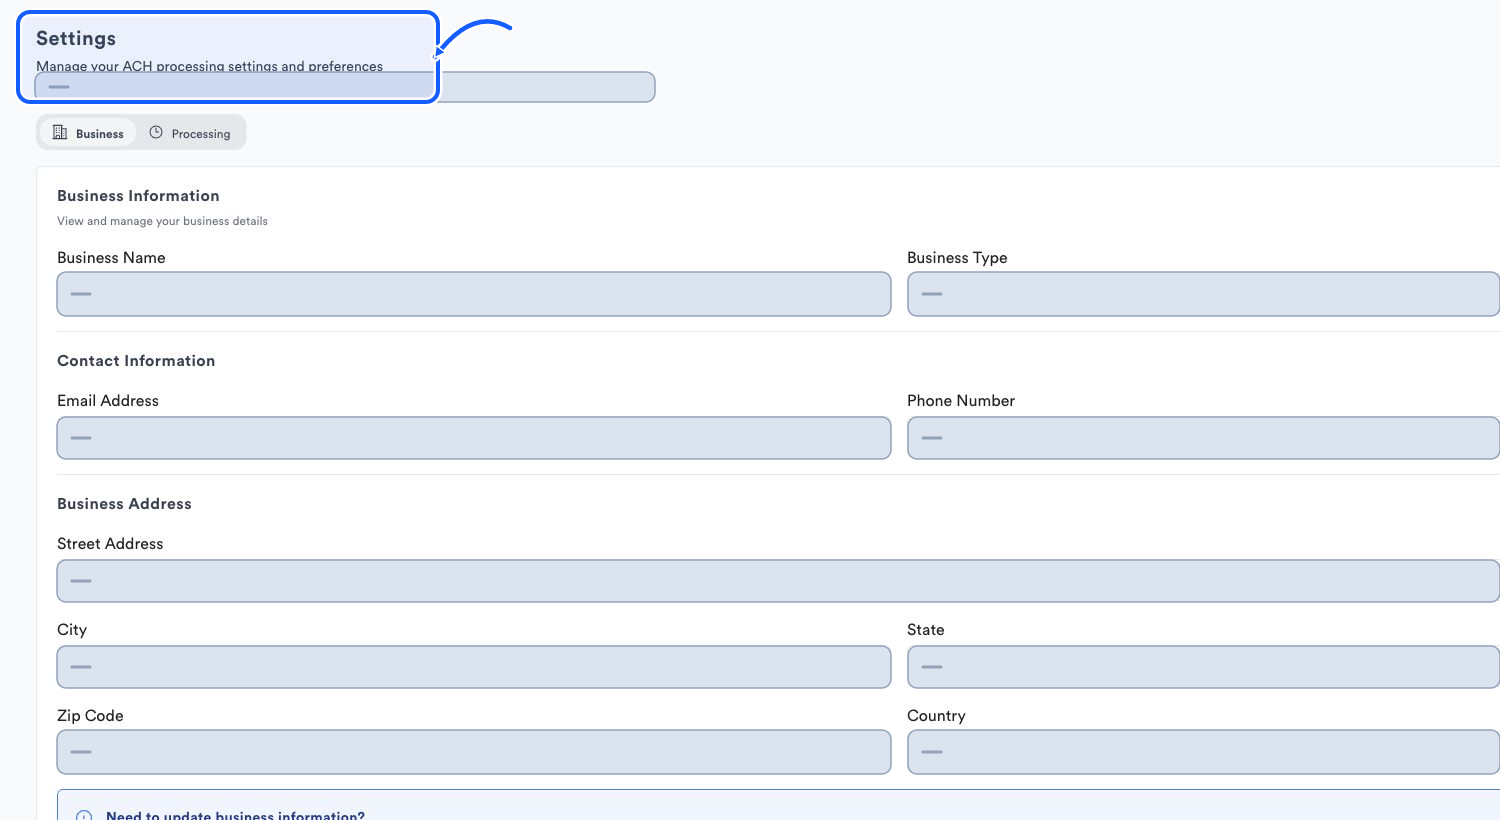
The highlighted area shows where to click. - 2
Request registered-detail changes
The Business page directs users to contact support when business information needs to be updated.
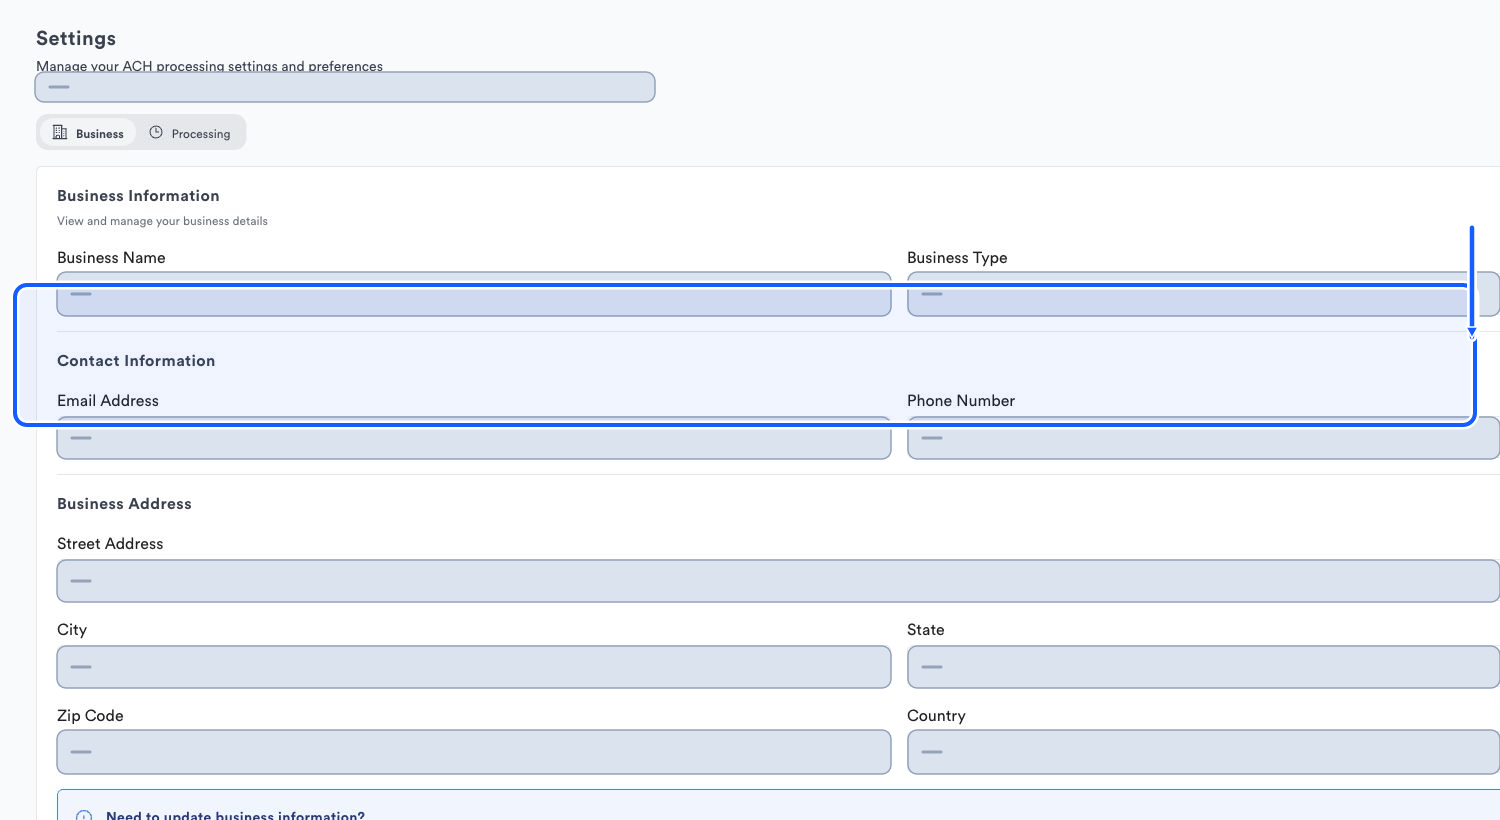
The highlighted area shows where to click. - 3
Open Processing settings
Choose the Processing tab to review the Fee structure and the Standard, Next Day, and Instant cards shown for your account.
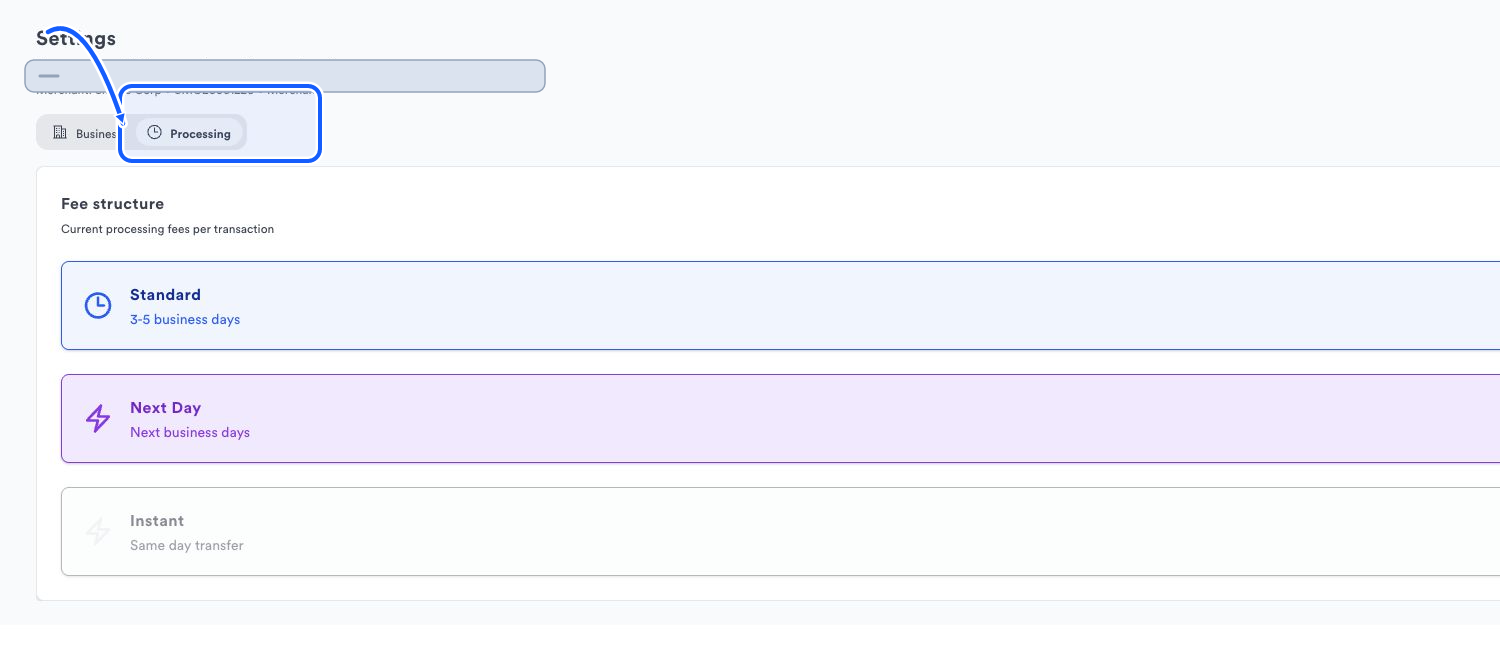
The highlighted area shows where to click. - 4
Use current merchant terms
Read the timing, availability, and fee currently displayed for this merchant before creating a payment.
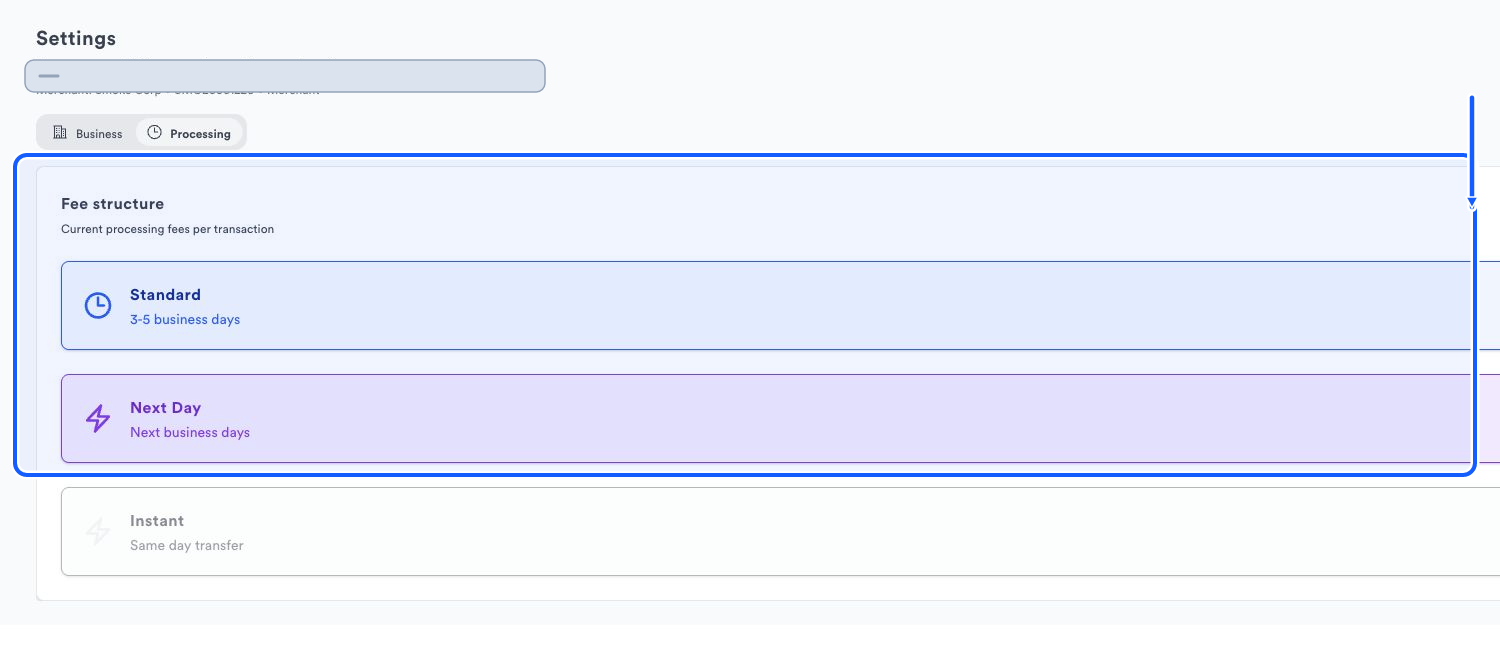
The highlighted area shows where to click.
You're done when
Team access uses the intended role, and payment decisions use the business and processing settings shown for your account.
Common fixes
If a role is too broad, create a custom role instead of assigning unnecessary permissions.
If an employee cannot see a page, review both the employee’s role and Assigned Stores.
If business fields cannot be edited, follow the contact-support direction shown on the Business tab.
If a speed is grayed out or marked Coming Soon, it is not available.