
Recurring & transactions
Create and review recurring payments
Set up an automatic ACH schedule and use the recurring dashboard to review plans and forecasts.
Before you begin
- Who can use this
- Users permitted to create recurring ACH payments
- You'll need
- An existing customer available in the customer selector
- A confirmed collect-or-send direction and amount
- A confirmed frequency, first-payment date, and schedule duration
Understand the recurring workspace
- Total Plans, Active Plans, Paused Plans, and Monthly Revenue summarize the current plan set.
- Estimated Deposit Forecast separates Money Coming In, Money Going Out, and Net Estimated Deposit.
- Forecast choices include Today, Next 7 days, Next 14 days, Next 21 days, and Next 30 days.
- Search & Filter Plans provides plan search, sorting, and an All Statuses filter.
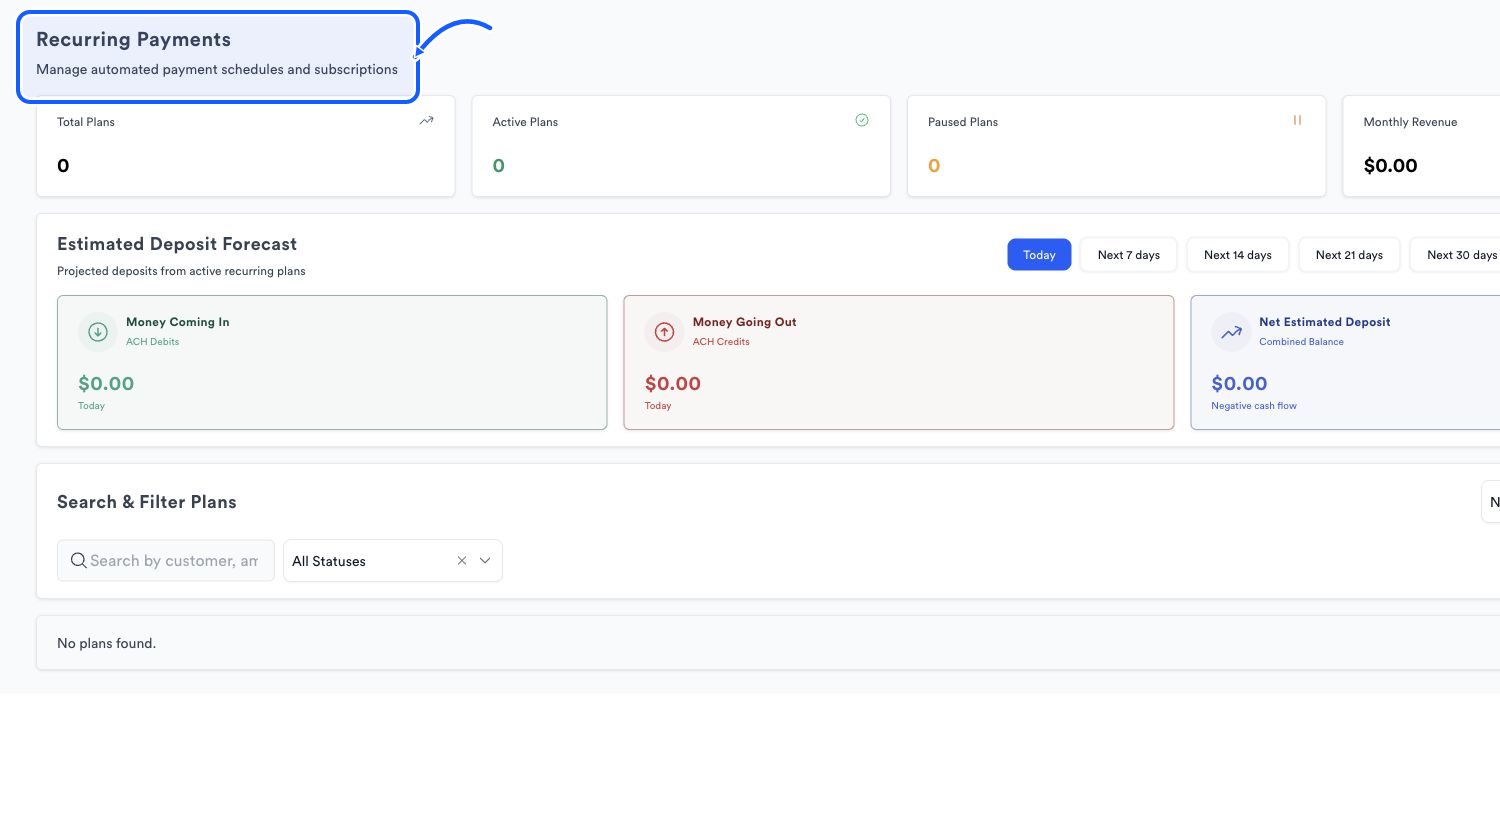
Create a recurring plan
- 1
Start a new plan
Open Recurring Payments and choose New Plan to open Create Recurring Payment Plan.
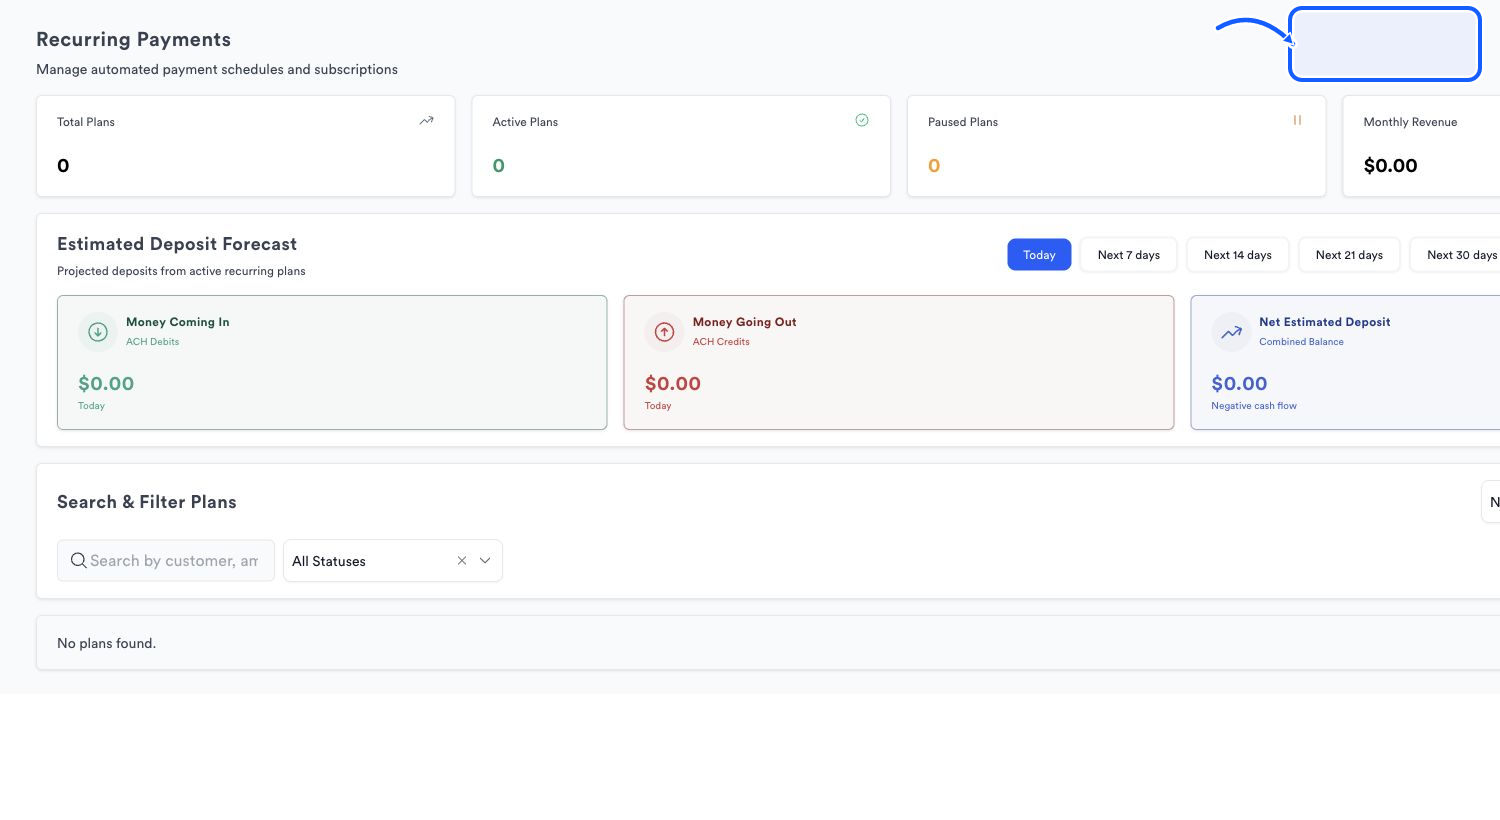
The highlighted area shows where to click. - 2
Choose collect or send
Select Collect Payment for money coming in or Send Payment for money going out.
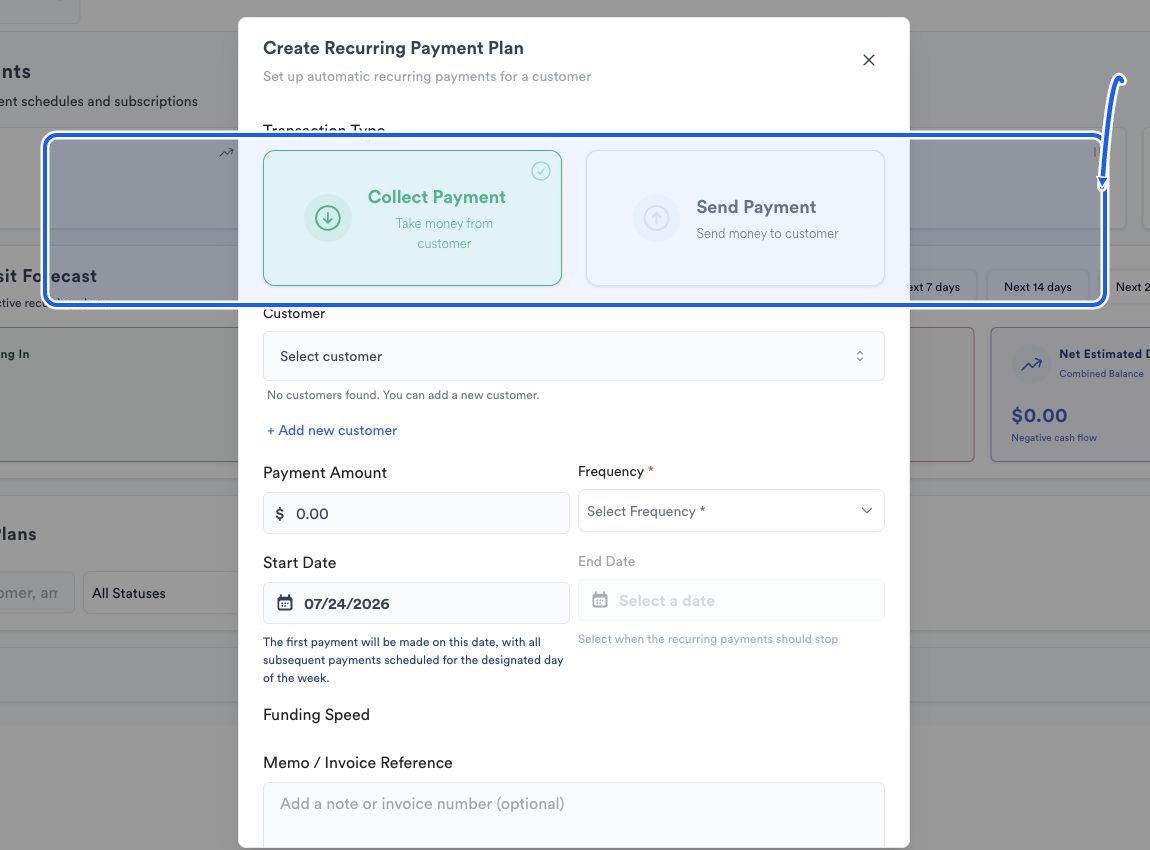
The highlighted area shows where to click. - 3
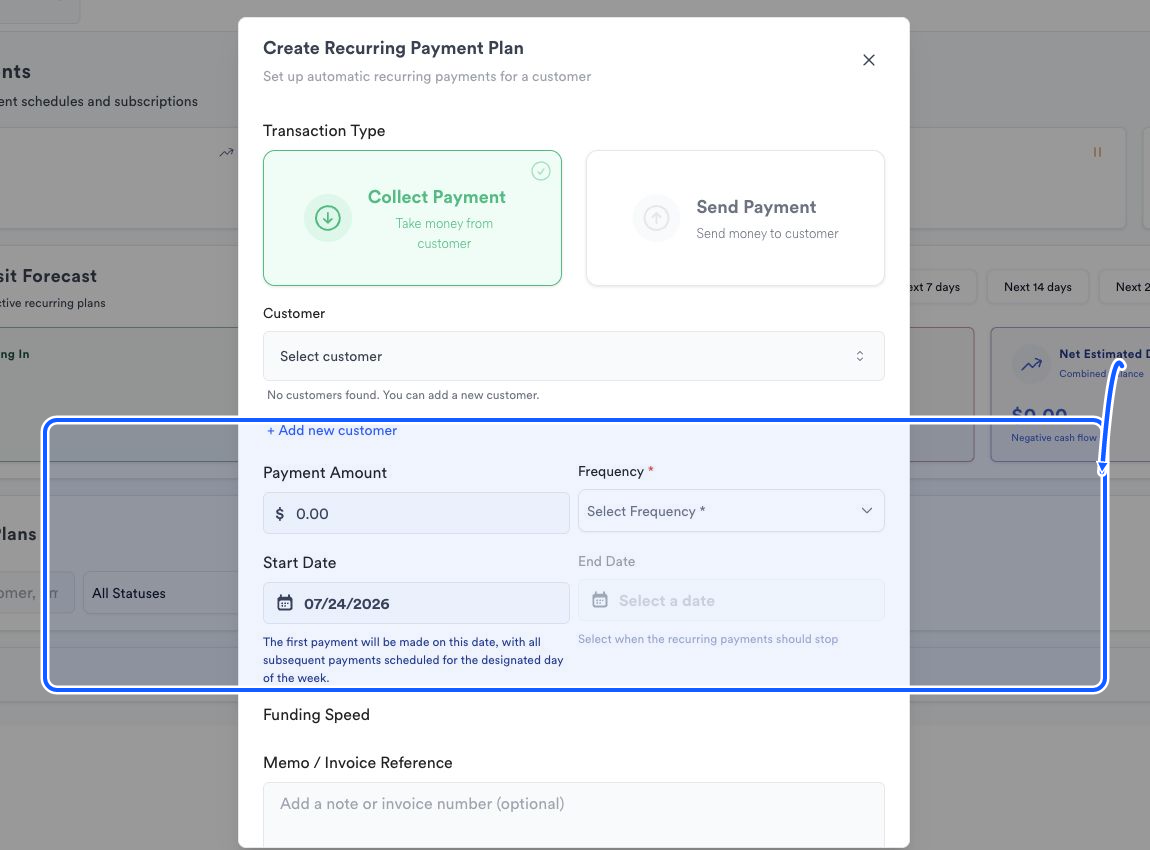
Set the customer and amount
Choose the Customer and enter the Payment Amount.
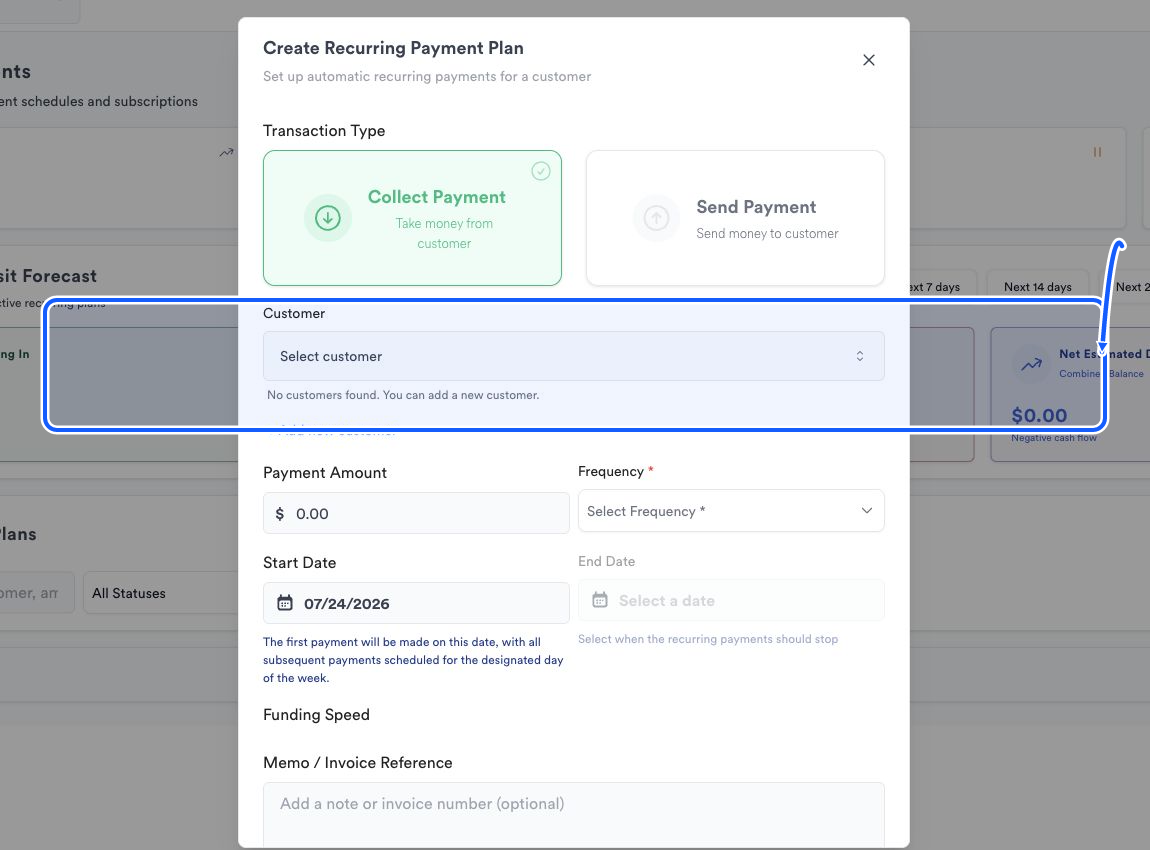
The highlighted area shows where to click. - 4
Set the schedule
Choose Frequency and Start Date, then set an End Date when the schedule should stop. Available frequencies include Weekly, Monthly, Quarterly, and Annually.
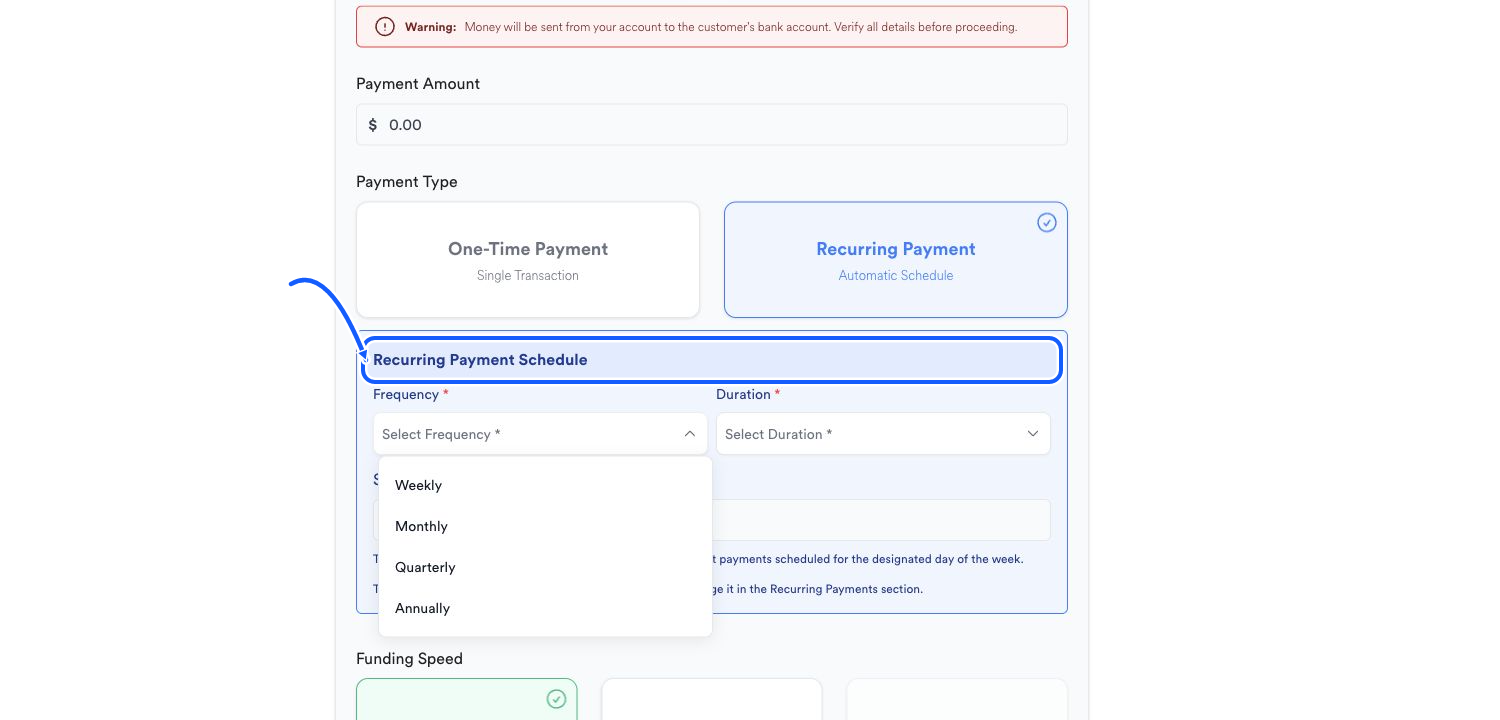
The highlighted area shows where to click. - 5
Review and create
Confirm the direction, customer, amount, dates, funding speed, and optional Memo / Invoice Reference before creating the plan.
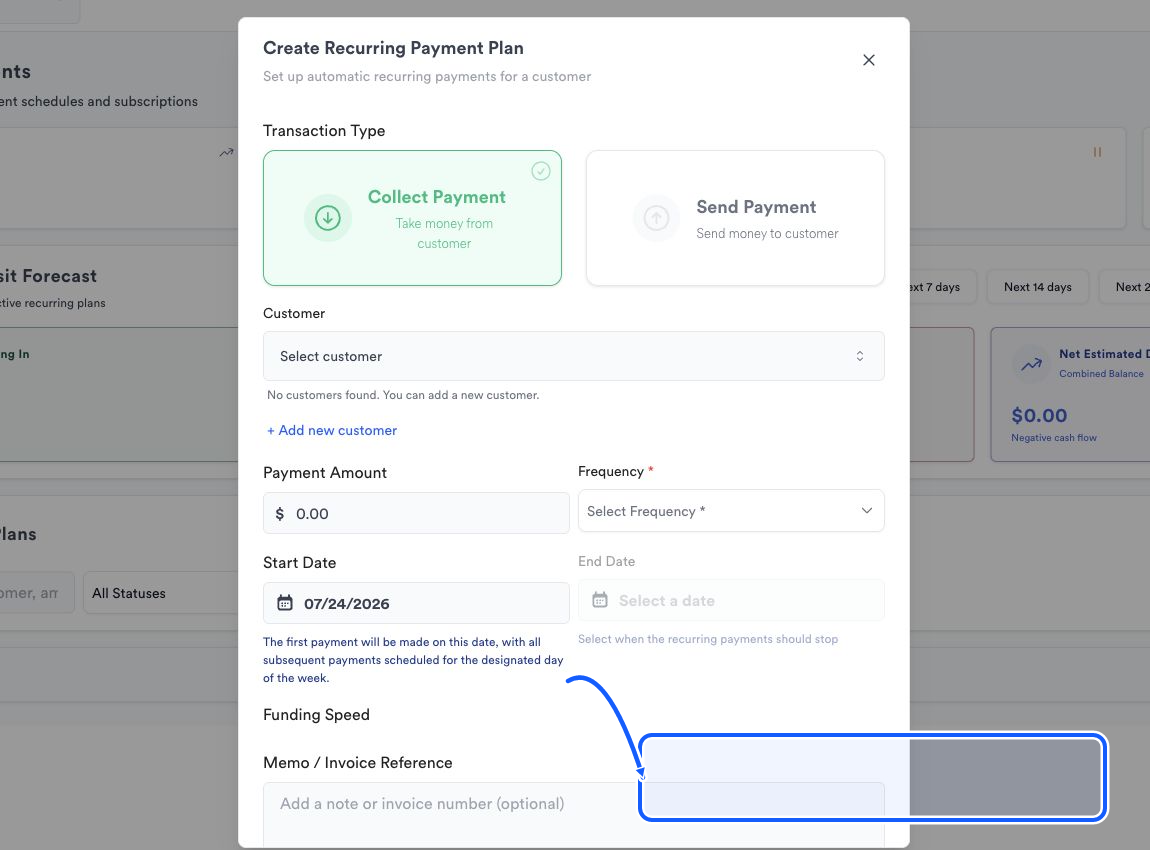
The highlighted area shows where to click.
You're done when
The plan is included in Recurring Payments and its direction is reflected in the applicable forecast period.
Common fixes
If no customer is available, create the customer first and then reopen the plan form.
If the End Date control is unavailable, choose the required Frequency first.
If a forecast is zero, confirm the plan status and select a period that includes its scheduled date.
To change or stop a schedule, open the saved plan and use the options available there. If you do not see the option you need, use Need Help in Quickvee Pay.